Showing posts with label Embossing. Show all posts

Sunday, April 24, 2011

Happy Easter

I wanted to take a quick minute to post an Easter card. This is a re-post of last years Easter's card. Some of the colors are now retired, and I got the idea from Jackie Topa. I hope you all are having a fantastic Easter


Stamps: Medallion
Ink: Pale Plum & Perfect Plum Classic Ink, Whisper White Craft Ink
Paper: Whisper White, Pale Plum, Perfect Plum
Misc: White Embossing Powder, Clear Embossing Powder, Modern Label Punch, 3/4" Circle Punch, Clear Rhinestone Brads, Dimensionals, Sponge Daubers


Tuesday, November 30, 2010

Magic Snowflake....

Only sort of.... It's not really magic, but it is cool. I love emboss resist, and it looks amazing on this card. The snowflake is done in white embossing powder and then sponged over with Night of Navy. I added a pearl to the middle for that little bit more, and it really makes the center pop. I love how much contrast there is on this card, I had originally done it in Marina Mist, but it looks a million times better in Night of Navy.


Stamps: Four The Holidays, Serene Snowflakes
Inks: Versa Mark, Night of Navy
Papers: Whisper White, Night of Navy
Misc: White Embossing Powder, Sponge Daubers, Silver Elastic Cord (retired), Pearls, Dimensionals

I had another long day today, but sadly I don't think it's over just yet. I realized I still have a ton of Christmas Cards to make, and I need to do them asap if I want to get them out before we leave. Days like today I am beyond grateful for wonderful caring nurses. My grams has been pretty out of it all day and her nurses are amazing! They have gone above and beyond what their actual duties are and I am sooo grateful for them.


Monday, November 29, 2010

Jolly Jingles

This has to be a quick one cause I am dead tired. I spent the majority of the day at the hospital with my grams. This is another one from one of my Christmas Stamp-A-Stacks.

You can see the shine, but you really can't see the sparkle in these pics, but the whole card really does sparkle in real life, and is completely gorgeous.

Stamps: Tags Til Christmas, Jolly Jingles Jumbo Wheel
Inks: Versa Mark, Old Olive & Real Red Markers
Papers: Very Vanilla, Cherry Cobbler
Misc: Very Vanilla 5/8" Satin Ribbon, Decorative Label Punch, Iridescent Ice Embossing Powder, Sticky Strip (to adhere ribbon), Dimensionals


Saturday, November 27, 2010

Bethlehem

I love this card, I got the idea from a fellow demonstrator, Dawn Griffith. This makes for such a wonderfully simple card, but it is so striking too. I actually did 2 versions of this card, one with the silver glass glitter that you see here, and another with the Silver tinsel trim that I will post later. I embossed the main image with black embossing powder to add a little bit more shine to the card. I also used sponges to color the Whisper White cardstock with Bashful Blue and Marina Mist, then I ripped the edges.


Stamps: Come to Bethlehem
Inks: Night of Navy, Bashful Blue, Marina Mist, VersaMark
Papers: Whisper White, Bashful Blue, Marina Mist
Misc: Black Embossing Powder, Silver Glass Glitter, Sponges

I love making Christmas cards, they really do seem to put me into a Christmas Spirit. I'm hoping to get the Christmas tree up soon, since we leave for our Christmas holidays in about 2 weeks. I highly doubt I'll be able to convince my hubby to put up Christmas decoration outside this year, so I really want to get the inside ones up soon.

Monday, November 22, 2010

Peaceful Christmas...

I think that is something we all hope for, but seldom get. I know that around here Christmas is an extremely hectic and crazy time. We have a great time very year, love the company, have more fun than we can imagine, but it is never peaceful. I love this stamp set, but wonder how the term Peace on Earth was associated with Christmas. This is one of the cards we did in this round of Christmas Stamp-A-Stacks... well almost theirs is slightly different, the card base was Cherry Cobbler instead of Early Espresso.


Stamps: Peaceful Season (level 2 hostess)
Inks: Wild Wasabi, Cherry Cobbler, VersaMark
Papers: Early Espresso, Cherry Cobbler, Very Vanilla
Misc: Clear Embossing Powder, Basic Pearls, Sponges, Dimensionals

I had a great weekend teaching classes, but now I have to get on to something a bit more important. Christmas shopping/making for my hubby. If anyone has any great ideas on what to get or make for a computer guy who loves the outdoors, and wood working I'm totally open to suggestions. I have such a hard time every year trying to find a great present for him. It can't be large in size either cause I need to pack it into the car, since we do Christmas every year in Arizona.

I have tons more cards to show you all in the coming days and weeks before Christmas. I'm hoping to get one up every day, but life might change those plans.


Friday, October 29, 2010

Ohh how I wish I was there....

It has gotten quite cold around here lately. You can really tell that it is now winter... fall is a distant memory. I sooo wish I was somewhere warm right now. I am sitting here literally freezing, and I don't see that changing until sometime in May! Unless we are lucky enough to get down to Mesa again for Christmas! This is the last of the watercolor series. I love this card, it reminds me of my honeymoon down in Florida. My amazing aunt let us use her condo for a couple weeks and this is what we saw when we looked out the window from bed each morning. Talk about paradise!


Stamps: Nature's Nest
Inks: VersaMark
Paper: Watercolor paper, Very Vanilla, Basic Black
Misc: Watercolor Crayons, Gold Embossing Powder, Embossing Buddy, Dimensionals

Maybe if I wish hard enough the weather will warm up for Halloween!

Thursday, October 28, 2010

Drips of delight....

This is such an easy effect to do... you let the water drip down and make a beautiful background for you! I mean really how much easier can it get? When you need a great card in minutes this is a fantastic way to do it.


Stamps: Nature's Nest
Inks: VersaMark
Paper: Watercolor paper, Not Quite Navy, Basic Black
Misc: Watercolor Crayons, Black Embossing Powder, Embossing Buddy, Dimensionals, water in a spray bottle, paper towel

I am off to take the kid to the bus stop, and then spend the day getting all the last minute stuff done for the Halloween Party. I love Halloween, I get to be a kid again!


Wednesday, October 27, 2010

Watercolor wonder....

I love my Watercolor Crayons and I am always amazed at the beautiful results, even though I shouldn't be, since they have never failed me yet. Another wonderful blogger Sandi MacIver had this great tutorial on her blog ohhh about forever ago and I asked her permission to use these, and she graciously said yes. I will post 3 of them that I did in the next couple days. This is a great stamp set, the peacock feather is just beautiful and can be used on almost any type of card.

Stamps: Nature's Nest
Inks: Versa Mark
Paper: Watercolor Paper, Garden Green, Basic Black
Misc: Watercolor Crayons - Not Quite Navy and Garden Green, Black Embossing Powder, Glitter - Fine Cosmos and Fine Supernova, Embossing Buddy, Aqua Pen, Dimensionals, Stamp-A-Ma-Jig, 2 way Glue Pen (for the glitter)

I haven't posted much lately, and I hope to fix that in the coming days. With Grams still in the hospital it is a little busier around here than normal. I also have been spending a bit of time volunteering in my sons class, and will spend 3 more days there next week. And here I though things would be less hectic once he started school.... HA! Hope you all have a less crazy week.


Sunday, September 12, 2010

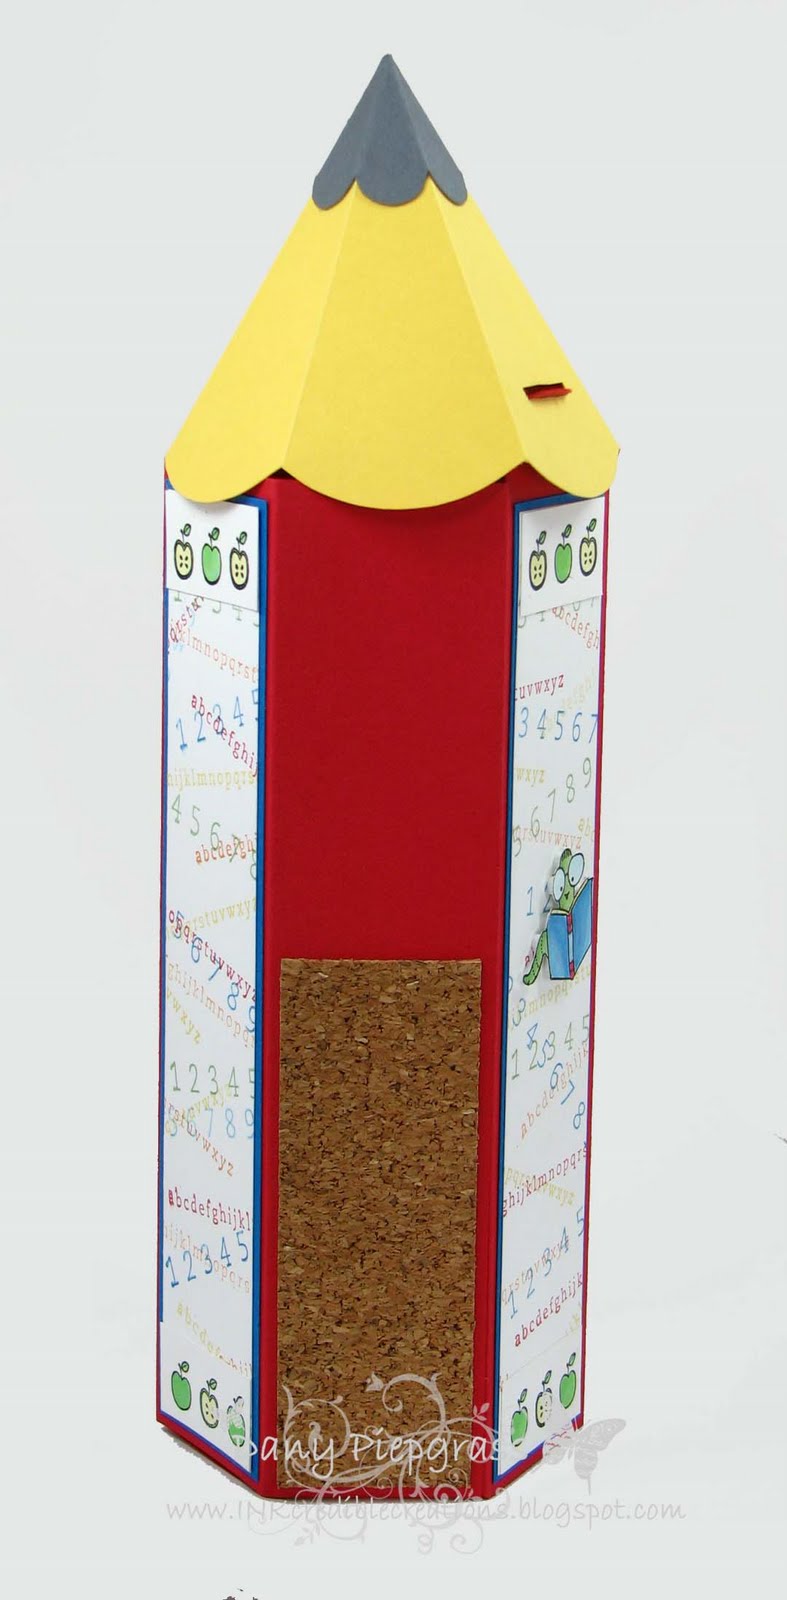
First Day Pencil

I saw this pencil box done by Ilina C on SCS and knew I just had to case it, so I bought the template from her and changed it a bit. Hers was not nearly tall enough for the pencils I bought, so I made it taller and I also made it narrower. I also added the cork side panels that are only half height. I filled it up and it held 72 pencils with room for a few more. I also included a bag with some push pins for the cork. I also used different colors.


Stamps: First Day
Inks: Real Red, Pacific Point, Daffodil Delight, Wild Wasabi, Pumpkin Pie, Green Galore (retired) Versa Mark
Papers: Real Red, Pacific Point, Daffodil Delight, Wild Wasabi, Whisper White, Basic Gray
Misc: Embossing Powder, Aqua Pen, Embossing Buddy, Cork Sheets


Saturday, September 11, 2010

First Day of School

I love this set, I think that bookworm is just about the cutest thing I have seen yet! I cased the idea for this card from Kim L on SCS, and I changed it a bit. I made this to give to my sons teacher the first day of school. I also made a pencil shaped pencil holder for her desk, and I will post that later tonight. All of the black on this card is embossed, to give it a little bit of shine.


Stamps: First Day
Inks: Pacific Point, Wild Wasabi, Green Galore (retired), Daffodil Delight, Real Red, Versa Mark
Papers: Whisper White, Real Red, Daffodil Delight, Pacific Point, Wild Wasabi
Misc: Aqua pen, Embossing Powder, Embossing Buddy, Stampin' Dimensionals


Sunday, September 5, 2010

happy happy happy

My cousin got married a year ago, almost to the day and I made her a cute little card and a little photo gift (which I will show you later). I love using people's wedding colors to go their anniversary cards. Hers were red and black. I also cased this card from Kathleen H on SCS, and changed all the colors and a little of the layout. I used the direct to paper technique to make the background black and silver. I took brushed silver cardstock and embossed it then flipped it over and took the Basic Black ink pad and wiped it across the surface of the card. I also used Stampin' Ups! new Rhinestones for the middle of a few of the dots as well as the butterfly.


Stamps: Teeny Tiny Wishes
Inks: Basic Black, Versa Mark
Papers: Real Red, Basic Black, Brushed Silver, Whisper White
Misc: Black Embossing Powder, Filigree Embossing Folder, Basic Jewels Rhinestones, Beautiful Wings Embosslits Die, Scallop Trim Border Punch

I will show you the mini photo album tomorrow.


Friday, July 23, 2010

emboss resist

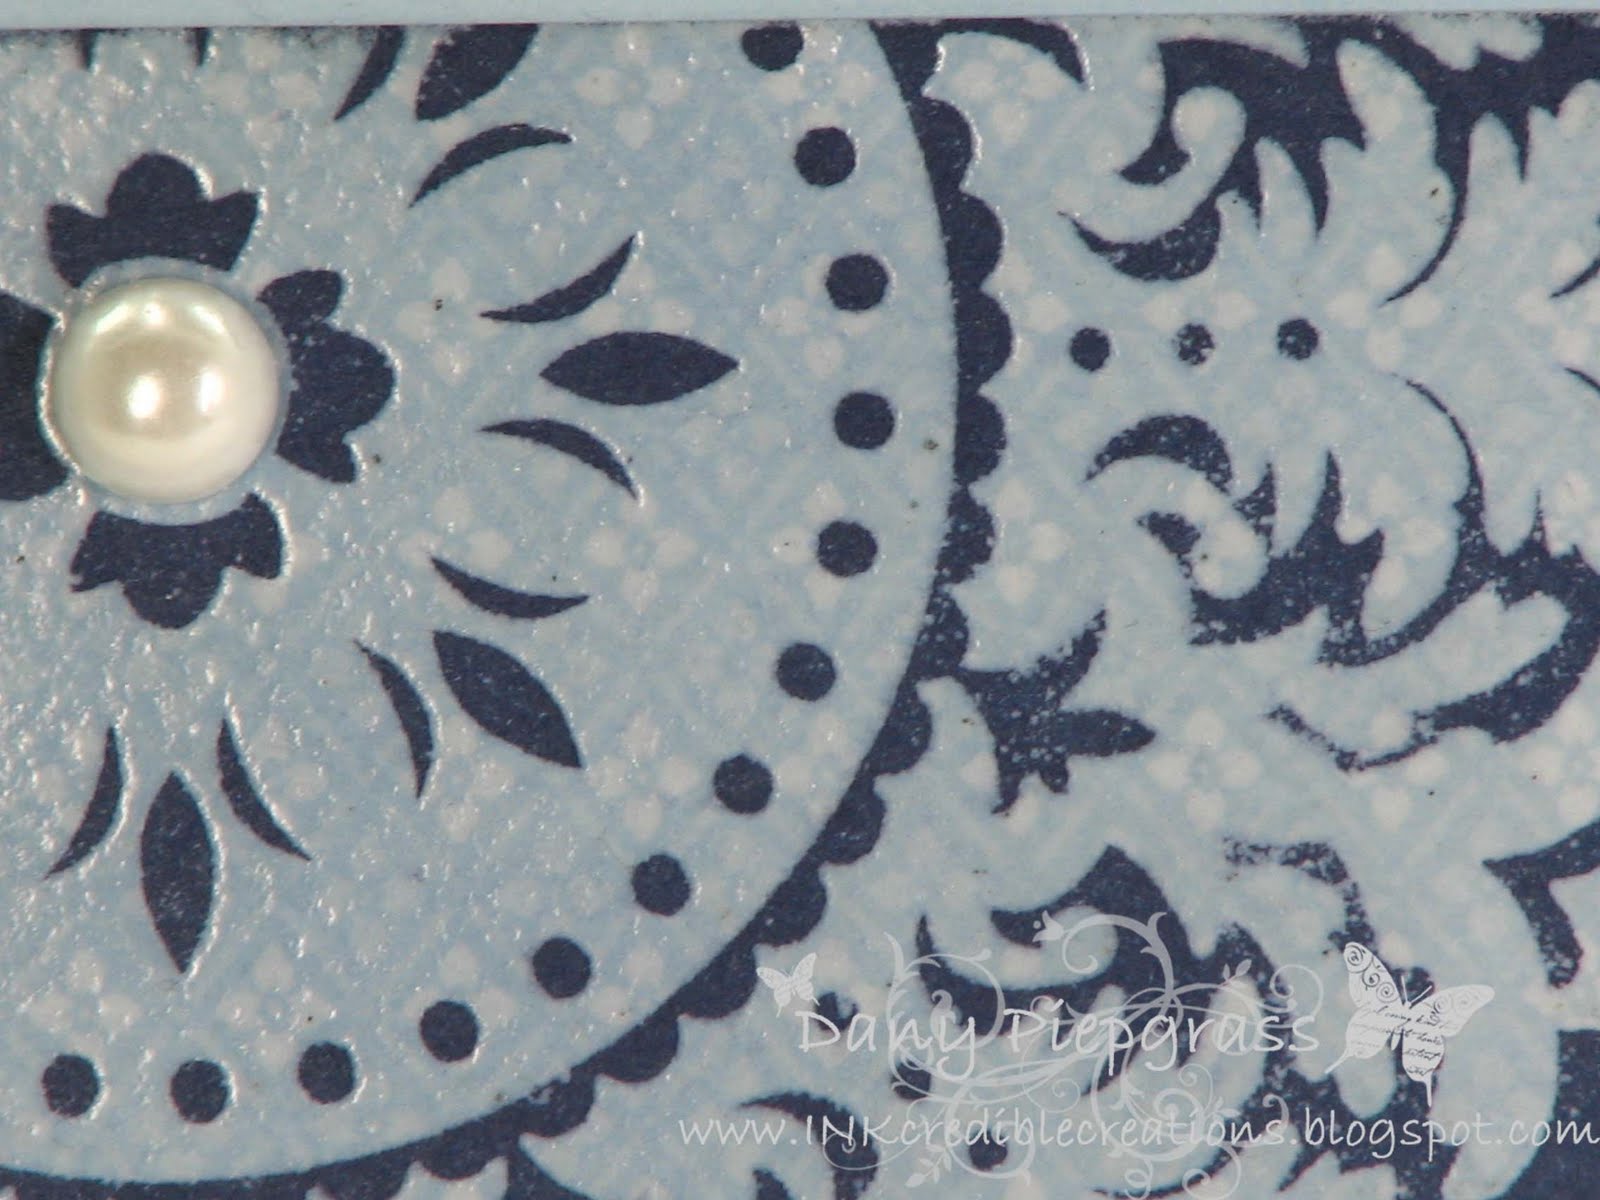
I really do love trying out new techniques, and this is such a fun one, and there are so many different looks from it. This is actually a sample from one of my brayer classes. We had a lot of fun those nights.


you can see the clear embossing powder here
and here you can see the DSP showing through the clear embossing powder.
I highly recommend using an embossing buddy before you ink your paper with the Versa Mark, I forgot to do it here, so there was some leftover embossing powder, and my design is not as crisp as it could be.

Stamps: Teeny Tiny Wishes, Medallion
Inks: Night of Navy, Bashful Blue
Papers: Whisper White, Bashful Blue, Night of Navy, patterns DSP in Bashful Blue
Misc: Brayer, Half Back Pearls, Hodgepodge Hardware, 1/4" Night of Navy Grosgrain Ribbon, Versa Mark, Clear Embossing Powder, Heat Gun

I need to run, I will have people here soon for my open house, and I still have to eat.


Friday, June 18, 2010

Again????

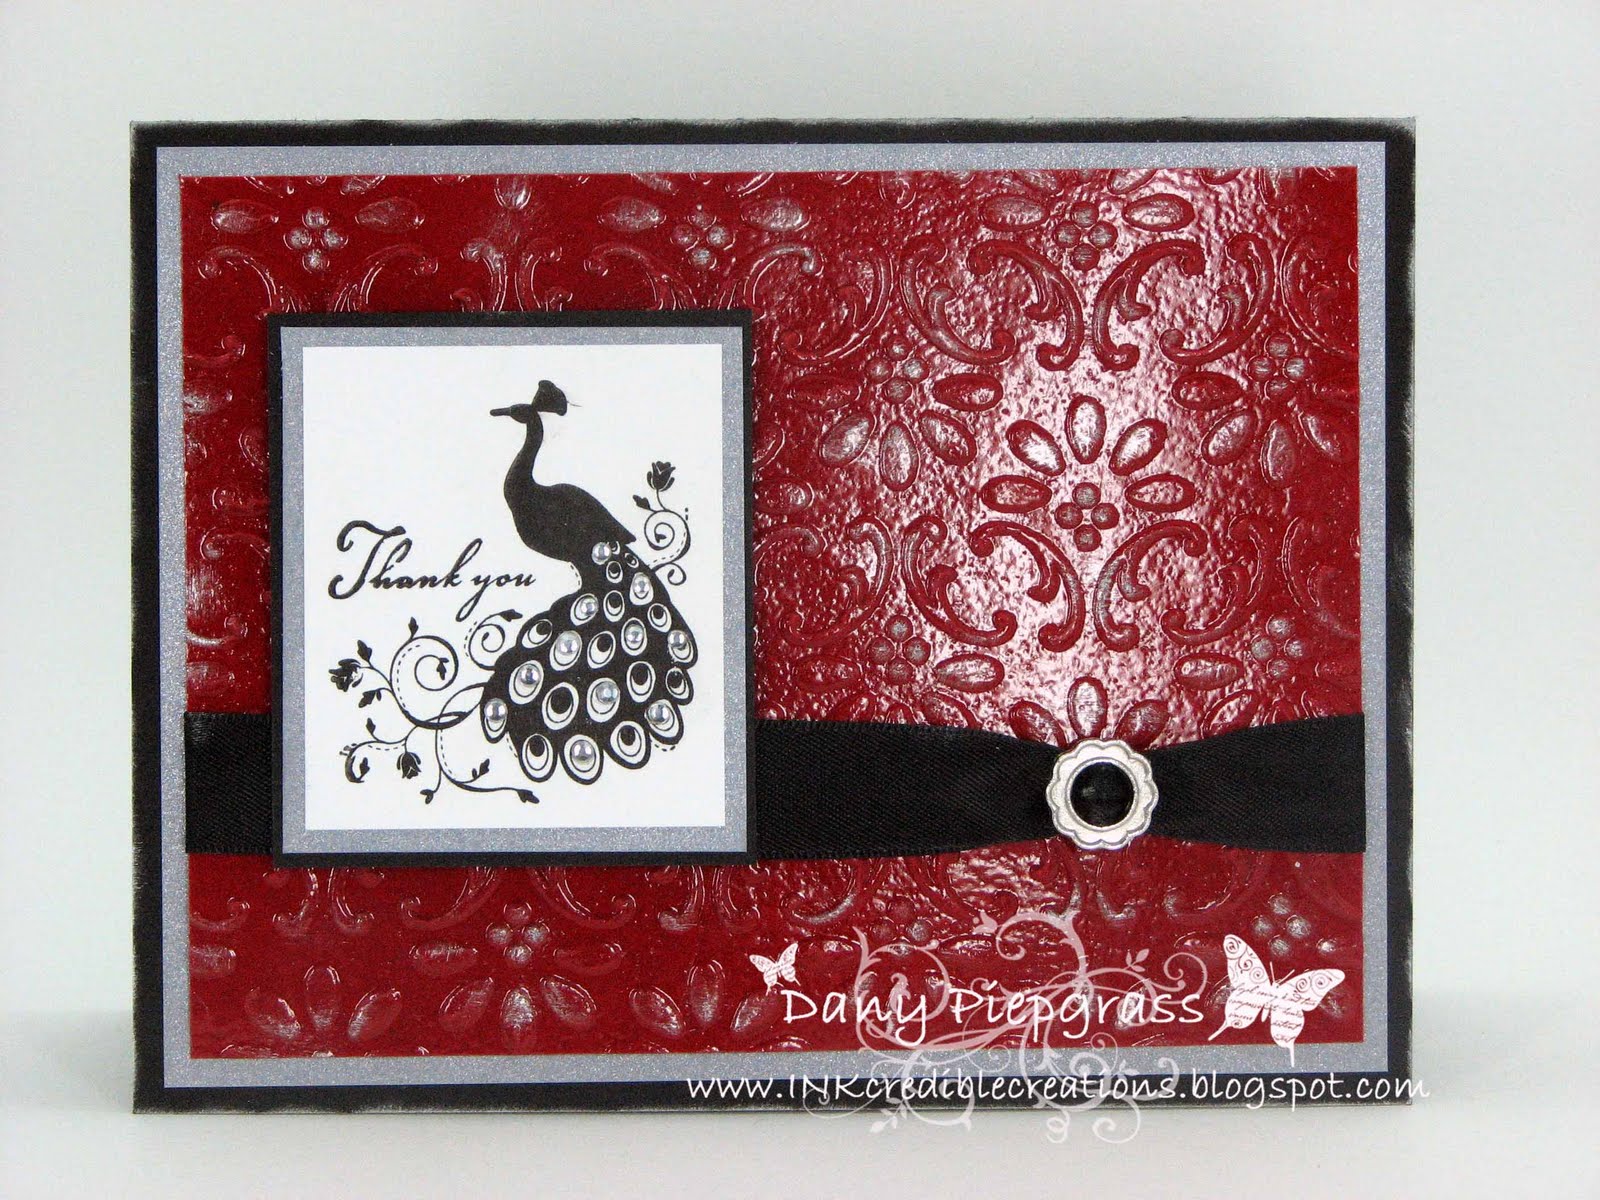
I know that is what you are all saying right now.... and I promise you that this is the last card made with this set for a while, probably a long while. I really am going to miss this set. I call this my triple embossed card. It is firstly heat embossed with clear embossing powder, then embossed using the big shot and the texturz folder finial press, and finally dry embossed over that with platinum shimmer paint.

I will warn you if you try this, that when you heat emboss first, then run it through the big shot, the embossing will crack and distress (which looks really cool). If you do not want the distressed look all you need to do is re-heat the powder. It will melt again and look all shinny and pretty like this card.


Stamps: Very Thankful
Inks: Basic Black, Versamark
Papers: Real Red, Whisper White, Basic Black, Brushed Silver
Misc: Platinum Shimmer Paint, Sponge Daubers, Rhinestones (from the Eggcellent Eggs Kit), 5/8" Basic Black Satin Ribbon, Ribbon Slide (Hodgepodge Hardware), Clear Embossing Powder, Final Press Texturz Folder

I think that is everything. It really is a very easy card to make, and looks stunning in person. I got my sneak peak order in, and will have a few really cool samples up in a day or two to tease you all with.