Showing posts with label Shimmer Paint. Show all posts

Saturday, August 6, 2011

mountains

For those of you that don't know, I live in Calgary, Alberta, and while I love living here, there are some things I wish were different. Like heat, we don't get really hot in the summer, which is kind of nice, but when it comes to gardening, esp vegetable gardening, it's not the best. Last year was unusually cold all summer, so I never did get much from my garden. When the frost killed my garden last year my zucchini's were only as big as my pointer finger. While this year has been better so far, it's not been really hot enough yet to get a good garden going. I've only had a handful of peas, bean, strawberries, and raspberries so far. The rest of the garden is growing, but I probably won't get a lot from it again this year. What does that have to do with stamping? Well it makes me think about how cool it has been, and that it's like an Arizona winter basically which inspired this snow themed card.

I love using my brayer, it never fails to create beautiful cards, super fast. I made a moon mask by punching out a 1 1/4" circle from a post it note, and to create the look of snow covered hills I ripped post it notes to the right shape and then sponged the blue slightly over the edge. To do this you will want to start on the post it note and rub in a circular pattern until you just barely rub onto your cardstock. Otherwise you can end up with too much color, or a big blob by accident.


Stamps: Extreme Snowboard, Lovely as a Tree
Inks: StazOn Black, Bashful Blue
Paper: Whisper White, Garden Green, Not Quite Navy
Misc: Platinum Shimmer Paint, Post-it Notes, 1 1/4" Circle Punch, Sponges

To create all the wonderful shimmer on the card I made what I call Shimmer Mist. You take several drops of shimmer paint and add rubbing alcohol (70% works best) in a spray bottle. Then you can spray over your cards lightly. If you want a lot of shimmer like here, sometimes you will need to add the shimmer in layers so your card does not get too wet. The alcohol dries quickly, but can still warp your paper or cardstock if it gets too wet.

Hopefully the weather heats up so my garden will start growing better, and so I can be inspired to create some non winter cards and scrapbook layouts.


Friday, August 5, 2011

Extreme Stamping

I love being creative, but some days I just have no inspiration. The day I made this card was one of those days. That is one of the things I love best about stampers, we love to inspire others, and on this day JudyM from SCS totally inspired me with her card, so I cased it. The best part was after I did this card I had my mojo back and created a few other cards that night.


Stamp: Extreme Elements, Perfect Punches
Ink: Cherry Cobbler, Marina Mist, Chocolate Chip
Paper: Whisper White, Cherry Cobbler, Early Espresso
Misc: Star Punch, Hodgepodge Hardware, Wide Oval Punch, Color Spritzer Tool, Dimensionals, Champagne Shimmer Paint (in a mister)

I'm now impatiently waiting on my Holiday mini pre-order, one of the perks of being a demonstrator is getting to get new products before anyone else. I can't wait to get my hand on some of these amazing products. If you are like me and want everything now and at a discount becoming a demo is the best idea. On top of getting great discounts and getting new products early, you have access to an amazing online resource called Stampin Connection, you get wonderful magazine each month from Stampin' Up! with tons of great business ideas, and sooooo much more. If you are thinking of joining the Stampin' Up! family, email me or give me a call and we can talk about it.


Wednesday, April 20, 2011

where does time go???

I really don't know. I have the best intentions of posting every second day, and then life gets in the way. I think we are well past the 3 bad things that come together, heck we might even be past 3 sets of 3 at this point. All I know is I am sick of bad things happening, and more than ready for some good.

This is a card from one of my club months. I'm thinking February, but I really don't know anymore.... that's how far behind I am. I love using the Medallion stamp, it just makes the most beautiful cards. I got the idea for this card off the internet somewhere, but now I have no clue where.... I wrote it down on a piece of paper and have since lost it. I changed several parts to it, but it is essentially the same card. There are so many ways to change up the look of the Medallion stamp, and using sponge daubers to create it in 2 tone is one of the best ways. I didn't want the card to look too flat so I sprayed the chocolate chip layer with water and crumpled it before putting it on the card base. It just adds a bit more interest to the card.

It's hard to see here, you really need to see it in real life, but I used shimmer paint and mixed it with rubbing alcohol and created a shimmer spray with the champagne shimmer paint. This card is sooo sparkly in real life. I also used a chocolate chip marker and the color spritzer to create the darker sprinkles on the card.

Stamps: Medallion
Inks: Bravo Burgundy, Rose Red, Chocolate Chip Marker
Papers: Blushing Bride DSP, Chocolate Chip, Rose Red
Misc: Linen Thread, Brights Buttons, Pearls, Small Heart Punch, Heart To Heart Punch, Color Spritzer, Shimmer Paint, Antique Brads, Sponge Daubers, Dimensionals


Friday, December 24, 2010

Have a Holly Jolly Christmas

First off I want to apologize for not posting anything the last while. We were insane trying to get everything ready for our Christmas Vacation, and then we were on the road for 2 days, then spent 5 days and we were on the road again for 18 hours. We finally arrived in Logan Utah this morning and have had a great day with family here. We will be leaving again tomorrow around noon for another 14 hours of driving before we end up in Mesa.

Before we left I made a card (a huge card) for Sevastian's Kindergarten class to sign. It ended up being 6x9, and the focal point on the card was 4x5.5. I took it into class for the class party and had all the kids sign it before we tucked the gift card for the teacher and gave it to her at the end of the party.

I love this set, and think it is a great kids set. I also decided to go a little over the top with it, and put shimmer everywhere. There is Dazzlin' Diamonds Glitter pretty much everywhere on the card. I also used Vanilla Smooch Spray to spray the background Bashful Blue piece after I embossed it with the Petals a Plenty embossing folder, and then I used Frost White Shimmer Paint to emboss the top of the petals and topped it off with 3 small Basic Pearls. I also added Rhinestones to the top of several trees.


It's late here, and I am working on almost no sleep, so I'll come back and post the recipes later.

Hope you all have a wonderful Christmas, and an even better time with family.


Wednesday, November 24, 2010

Shimmer snowflake

My mom reminded me of a card I made last year, and I went looking for it and could not find it on my blog, so I made a new one up using this years colors, and tweaked it a little bit. I absolutely love the Shimmer Paint from Stampin' Up! You can use it for so many things, but the easiest way to use it is to simply put it on your stamps and stamp with it. That is what I did here. I used Markers to ink up most of the stamp and then used a sponge dauber to put the Platinum Shimmer Paint where I did not color. This card is so shimmery and pretty in real life, it looks nice in the photographs, but no where near as awesome. If you are ever trying to figure out what could make your card stand out just a little more, use some shimmer paint on it.


Stamps: Serene Snowflakes, Four The Holidays
Inks: Pacific Point
Papers: Whisper White, Pacific Point, Night of Navy
Misc: Platinum Shimmer Paint, Sponge Daubers, Filigree Brads, Rhinestones, Rhinestone Brads, Silver Elastic Cord (retired) Dimensionals


Saturday, September 25, 2010

a dashing good time....

We have already done the first round of Christmas Stamp-A-Stacks, and this was one of the cards we made that night. We make 4 cards, 3 of each of them for a total of 12 cards. I love the Dasher stamp, and wanted to try something a little different, so we used the Champagne Shimmer Paint to ink it up. It is hard to see in the photo, but it is soooo shimmery and pretty.


I am hoping you can see the shimmer better in this picture.
Stamps: Dasher, Teeny Tiny Wishes
Inks: Cherry Cobbler, Champagne Shimmer Paint
Papers: Jolly Holiday DSP, Cherry Cobbler, Old Olive, Very Vanilla
Misc: Champagne Shimmer Paint, Scallop Trim Border Punch, 5/8" Old Olive Satin Ribbon, Modern Label Punch, Word Window Punch, Dimensionals

I hope you all are having a great weekend, I am keeping this short so I can go outside and enjoy the wonderfully warm weather before it is gone.


Sunday, July 25, 2010

NICU days

I am slowly getting more and more of my sons first year album done. I am hoping to have it mostly done by the end of this year, and for sure done by his next birthday in February. This was a really important to me page, and a hard to do page. He was in the NICU for several days after he was born and a lot happened to him there, but sadly we were not allowed to take many pictures. Depending on the nurses working sometimes we were not allowed to take any pictures. I am totally against that policy. I can not imagine having a premature baby that was in the NICU for weeks and weeks and not being allowed to take pictures. To me it was like I imagine going to visit someone in jail. We couldn't just walk in whenever we wanted to. We were only allowed in at certain times, and even then we had to be double verified, even by the nurses that knew us. It was not a fun time, and definitely not the way I imagined my hospital stay.


It doesn't look like it too much, but I tried to make his wrist and ankle bracelets into handcuffs, going along with the cell block theme. I made the little links out of very vanilla cardstock and sponged platinum shimmer paint over top to make it look like metal.

Stamps: Teeny Tiny Wishes
Inks: Marina Mist
Paper: Very Vanilla, Crumb Cake, Marina Mist
Misc: Curly Label Punch, Movers and Shapers Die Curly Label, Platinum Shimmer Paint, Brads, 5/8" Bashful Blue Satin Ribbon

I am hoping to get another page at least started tonight after the kid is done with his bath and in bed.


Friday, June 18, 2010

Again????

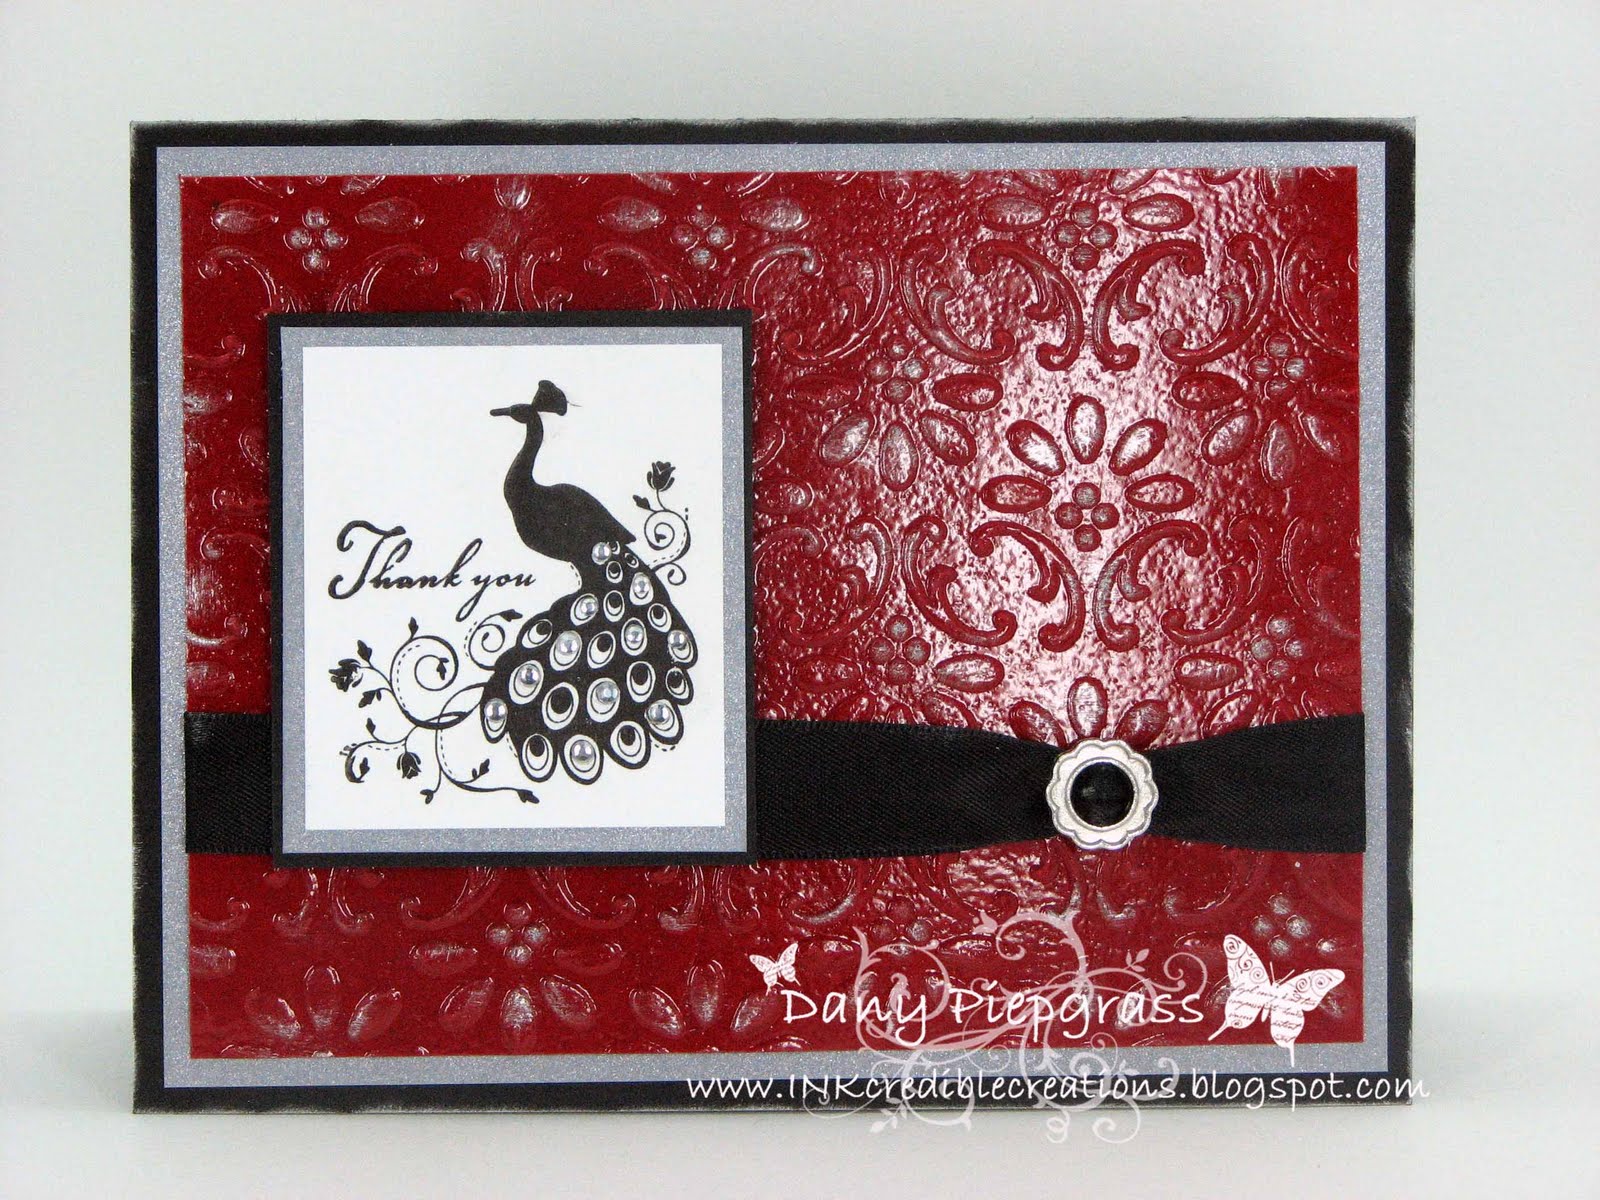
I know that is what you are all saying right now.... and I promise you that this is the last card made with this set for a while, probably a long while. I really am going to miss this set. I call this my triple embossed card. It is firstly heat embossed with clear embossing powder, then embossed using the big shot and the texturz folder finial press, and finally dry embossed over that with platinum shimmer paint.

I will warn you if you try this, that when you heat emboss first, then run it through the big shot, the embossing will crack and distress (which looks really cool). If you do not want the distressed look all you need to do is re-heat the powder. It will melt again and look all shinny and pretty like this card.


Stamps: Very Thankful
Inks: Basic Black, Versamark
Papers: Real Red, Whisper White, Basic Black, Brushed Silver
Misc: Platinum Shimmer Paint, Sponge Daubers, Rhinestones (from the Eggcellent Eggs Kit), 5/8" Basic Black Satin Ribbon, Ribbon Slide (Hodgepodge Hardware), Clear Embossing Powder, Final Press Texturz Folder

I think that is everything. It really is a very easy card to make, and looks stunning in person. I got my sneak peak order in, and will have a few really cool samples up in a day or two to tease you all with.


Friday, April 9, 2010

Another PPA 37 challenge card

So I am not sure if I can enter more than 1 card into the Pals Paper Arts challenge, but I had so much fun making the last one, that I decided to do another. I had seen a card quite similar to this on the Stampin' Up! boards at Regionals or Conference or something and I loved it so I sketched it out and tried it today.

I also tried a few other things I have never done before. I took my Rich Razzleberry Marker and colored in the White 1/4" Grosgrain ribbon, and I took this picture while it was still wet, so it looks a lot darker than it is. I also took a sponge dauber to the edges of the flower to sort of simulate the rocker technique. And lastly, while I had done it before, I figured I should mention it anyways. For the little flowers I stamped the first one and then without re-inking it I stamped it again. for the 3rd flower I only slightly colored the stamp and then lightly pressed it to the paper, so I would have 3 levels of color. Then I sprayed the whole card with Platinum Shimmer Paint that I mixed up into a spray bottle, to make shimmer spray.


Stamps: For all you do
Ink: Basic Gray, More Mustard, Crushed Curry, Rich Razzleberry, Garden Green.
Paper: Rich Razzleberry, Crushed Curry, Very Vanilla, Basic Gray
Misc: Platinum Shimmer Paint, Word Window Punch, 1/4" Whisper White Grosgrain Ribbon, Sponge Daubers, Elegant Bouquet Textured Impressions Folder, Stampin Dimensionals

Crushed Curry is one of the colors on the farewell list, so if you like it, you might want to stock up on it.

Until next time, Happy Scrappin'

Saturday, February 13, 2010

Be mine

I love black and white and variations of them, and think they always make for wonderful masculine cards. This is from the Nouveau Chic DSP and I love the WHOLE pack. Normally I really like most of the sides, but dislike a few sides, so I end up with 2 of the other side, but not this time! I had used quite a bit of the right side of this paper where it is only circles, but didn't know what I would do with the design on this side. It works perfect for this card, I love it when things work out well by accident.


It is fairly hard to see here, but there is Dazzlin Diamonds Glitter on the left side of the design, it looks great in real life, but did not photograph well at all. I hope you can see it.

Stamps: Holiday Best (level 1 hostess)
Ink: Purely Pomegranate (retired in color) Basic Gray (Stampin' Pastels), Platinum Shimmer Paint
Paper: Basic Gray Cardstock, Brushed Silver Cardstock, Nouveau Chic DSP
Misc: 5/8" Basic Gray Satin Ribbon, Dazzlin Diamonds, Stampin Dimensionals

I hope you all had a great week and are having an even better weekend.

Until next time, Happy Scrappin'

Wednesday, December 2, 2009

Shimmery Penguin

I love this little guy. This is the card I made the other night after I was inspired by our cute penguins outside. Just a reminder that this set and the wonderful shimmer paint used to make the shimmer spray are only available until Jan 4th.


you can kind of see the shimmer spray in the top right corner
This does not do it justice, but trying to show the crystal effects on the iceburg

This is to show the wonderful Icicle Rub-ons
It is hard-ish to see here, but this is to try and show the shimmer spray
Stamp: Cold & Cuddly
Ink: Basic Black, Summer Sun, Not quite Navy, Rich Razzleberry, Pumpkin Pie, and Tempting Turquoise Markers
Paper: Whisper White, Rich Razzleberry, Not quite Navy, and Basic Gray
Misc: Icicle Rub-ons, Platinum Shimmer Paint, Crystal Effects, Large Oval and Scallop Oval Punches

I used the Icicle Rub-ons for the snowflake border, I love how easy Stampin' Up!'s rub-ons are to use. I have never had problems with them not wanting to go on, or coming off for that matter. Also to get the wonderful Shimmer all over the card I used rubbing alcohol and poured it into a mister and then added about 10 or so drops of platinum shimmer paint into it. You then shake it all up and spray. It makes all colors of cardstock look wonderful. It is much more noticeable in person, and I also have to say that the crystal effect on the iceberg is way more glossy in person and looks so much better.

Until next time, Happy Scrappin'

Monday, August 17, 2009

Happy Anniversary

Friday was my 5th anniversary and unfortunately hubby and I did not get to celebrate as things were busy here, so we postponed it until today. Now I can finally post his 'card' I made him. Every year I do a little project for him instead of a card. I saw this idea somewhere while cruising around looking at blogs and websites and thought this would make a perfect project.

Not all of this is Stampin' Up!® as I used papers from our wedding album to coordinate with embellishments and paper from Stampin' Up!®. Please bear with me as this is going to be a lot of pictures.

This is basically a 12x24 piece of cardstock that is folded in half to be 6x24 and scored every 4 inches. You then accordion fold it, and this is the end result. When you 'glue' it closed you use Sticky Strip (#104294) and make sure not to glue the 'pockets' closed so you can put the tags into the middle. If you need more directions or more information on this please leave a comment and I will try to help you out.

It might be hard to see but over the champagne I used micro beads (#104266) to give a little bit of depth.... it shows really well in real life. The silver glasses were cut out of brushed silver cardstock(#100712).

I used a clear medium window sheet (#114323) to put the die cuts onto. I also used tombow adhesive (#110755) over the die cuts to glue the purple glitter (#108796 fine cosmo).

The purple cardstock behind a lot of the pictures and on this page is Almost Amethyst cardstock (#102158) and the white is Whisper White cardstock (#100730)


I used sponge daubers (#102845) and basic gray classic ink (#109120) to ink around the edges.

The frame around Eternal and the ribbon slide are from the hodgepodge hardware kit (#112454) which is also available in Vanilla. The ribbon is 1/4" Elegant Eggplant grosgrain ribbon (#109039)

I used a clear medium window sheet (#114323) to put the rub-ons onto.

The flower and halfback pearl is from the Pretties kit (#109114) and I used a sponge dauber (#102892) to put Almost Amethyst classic ink (#101723) around the edges and the mini library clips (#109587) are great.

The clear rhinestones (#113144) are so easy to use.

I also inked around these edges with Whisper White craft ink (#101731) and Almost Amethyst classic ink (#101723) using the sponge daubers (#102892) again.

The ribbon I used on these tags is the 5/8" Brocade Blue Grosgrain (#109057)

I also printed out my journaling on the vellum cardstock (#101856) which is great to run through the printer.


I hope you like it, I had a ton of fun making it.

Until next time....Happy Scrappin!