Tuesday, August 2, 2011

more fun with re-inkers

I know I've said it before but I love re-inkers. You can do so much with them, so many different looks, and if you ever do get bored of trying new techniques you can always use them for what they were originally intended, to re-ink your ink pads and markers. I'm not sure this technique has a real name but I call it rubber resist. You use rubber cement to create a pattern, and after the first layer dries you rub over it with color from a sponge. I like to use yogurt lids and place a couple of drops of re-inker on it, then pick up the ink with a sponge. Always start with the lightest color fist. As soon as the ink is dry (only a minute or two) you can create a 2nd layer with the rubber cement, then let it dry (this usually takes at least 20 mins) and repeat until you have a pattern you like.

Here I used Tempting Turquoise then Pacific Point, and finally Night of Navy.

Stamps: Bugs and Kisses (retired)
Inks: Tempting Turquoise, Pacific Point, Night of Navy
Paper: Night of Navy, Pacific Point, Whisper White
Misc: Gingham Ribbon, Dimensionals

I have a ton more projects that use re-inkers and a few more with this technique, so I'll be posting those in the coming days. I hope you aren't sick of re-inkers by then, maybe you'll even be inspired to try some of them yourself. One quick tip, if you are a messy stamper like I am normally, use a pair of vinyl gloves, your fingers will thank you.


Monday, August 1, 2011

shaving cream take 3

This is another example of what this technique can look like. For this one I used Cajun Craze, Old Olive, Daffodil Delight and Cherry Cobbler Re-inkers. When you are using more than 3 colors, and esp if they are dark colors you really need to be careful when you are swirling the colors so you do not muddy them, and also so you spread them out a bit, otherwise they can look black.


Stamps: French Foliage, Occasional Quotes
Inks: Daffodil Delight, Old Olive, Cajun Craze, Cherry Cobbler re-inkers, Chocolate Chip
Paper: Cajun Craze, Cherry Cobbler, Old Olive, So Saffron, Whisper White
Misc: Hodgepodge Hardware, Re-inkers, Shaving Cream, Dimensionals

I'm hoping to get creating with some new and awesome products soon, but things are still crazy around here, I've spent the entire long weekend getting caught up around here doing yard work, house work, and visiting family. On the plus side my garden is starting to come in, I have a small amount of peas, beans, and berries already and more coming and the radishes, lettuce and onions will be close behind, then hopefully the carrots, zucchini and potatoes will keep growing so I can have a decent amount of them this year. I'm thinking I might have done something to the beans by accident though. I planted pole beans which should grow up the pole, and some are growing vines and growing up the pole, but a bunch on the other end of the garden never grew vines, and are growing beans on tiny little plants near the ground. The kinda cool thing about that is the beans are curling as they grow, and they look like curly fries.

My cake business seems to be taking off as well. I'm getting orders every few days it seems which is great, but it cuts into my crafting time. I have plans to send my kid away for a day or two ( I'm hoping) next week and I plan to spend the entire time crafting.


Sunday, July 31, 2011

Shaving cream take 2

This is what the shaving cream technique looks like when you use 3 shades of the same color. I used Baja Breeze, Tempting Turquoise and Pacific Point for this card. If you want a darker card like this you also have to use more drops of reinker than you might think necessary. The shaving cream will look darker than your paper will look, so it sometimes takes a bit of trial and error.

Stamps: Medallion, Teeny Tiny Wishes
Inks: Chocolate Chip, and Baja Breeze, Tempting Turquoise, Pacific Point Re-inkers
Paper: Pacific Point, Chocolate Chip, Whisper White
Misc: 3/8" Taffeta Ribbon, Dimensionals


Saturday, July 30, 2011

anyone need a shave?

I love playing with stamps and inks, and one of my favorite techniques involves reinkers and shaving cream. You need a lid of some sort that is rather large, or a powder pal from Stampin' Up! (the large one works best). Use shaving cream (the foamy kind, not the gel kind) and fill it up, then level it out with a stick of some sort (I use a long lollipop stick). Then drop several drops of reinker color in a random pattern over the shaving cream, repeat with at least 2 more colors. Then using the same stick lightly swirl all the colors around, being careful not to muddy the colors. Then take your paper and set it into the shaving cream, making sure to press down the whole paper, so you get good coverage. Then carefully lift it up, if you pull it sideways you get a different look than if you pull it straight up. You also get very different looks if you use 3 different colors as opposed to 3 different shades of the same color. I chose to use 3 different colors for this one, but I will show you tomorrow what 3 different shades of the same color looks like. It also looks really different if you use a lot of drops or just a few of each color.


Stamps: Fast and Fabulous, Occasional Quotes
Inks: Almost Amethyst, Daffodil Delight, Certainly Celery
Papers: Whisper White, Pretty in Pink, Wild Wasabi, Daffodil Delight
Misc: Modern Label Punch, Word Window Punch, 1/8" Basic Black Taffeta Ribbon, Stamp-a-ma-jig, Dimensionals,


Thursday, July 28, 2011

I scream you scream, we all scream for....

Icecream. I love these sets, I know they are old, but I think they are super fun. I routinely use them for kids birthdays, and it's a good reminder that when you see a set you like, get it, before it retires.


Stamps: Birthday Bliss, On a Pedastle
Inks: Rose Red, Chocolate Chip, Bermuda Bay
Paper: Rose Red, Chocolate Chip, Whisper White, Sweet Pea DSP (retired)
Misc: Hodgepodge Hardware, 1/4" old Olive Grosgrain Ribbon, Rhinestones, Dimensionals

I'm going to leave this as a short post, that way I might actually get more posting done this month.


Tuesday, July 26, 2011

Fabulous Fabric Feats

Stampin' Up!'s 100% cotton fabric assortments include three coordinated designs in an extra-wide fat quarter size. Each piece measures approximately 27" x 18" -- a perfect size for use in our Big Shot machine. I have seen so many cute projects made with Stampin' Up! fabric -- flower pins, tote bags, skirts, dresses, head bands, embellishments for scrapbook pages and greeting cards and so many more. The fabric coordinates with Stampin' Up!'s exclusive colors making it easy to combine fabric and paper in so many fun ways!


One of the things I love about being a Stampin' Up! demonstrator is getting to go to amazing events and see even more amazing projects. These are some of the projects that were on display at convention this year. Just a small sampling of the limitless projects that you can make with Stampin' Up!'s extra wide fat quarter fabric.

If you want to see amazing displays like this and more in person there is still time to take advantage of a great deal. Stampin' Up! is offering a limited time special starter kit for only $119.00 until July 31st. Plus if you sign up before July 31st you can attend a Regional event with me in September as my gift to you. Regionals are like a mini 1 day convention, they have training, stamping, tons of displays, and so much more!

I invite you to join my team and start earning a discount on the stamps and accessories you are already ordering, and see where Stampin' Up! can take you. I can promise you that the friendships you will make are priceless, and that discount is even better now than when I first started. You are not out anything if you try it and decide it is not for you, the starter kit is yours to keep. I am here to help you be successful and to reach the goals you set for yourself, however big or small they may be.

If you join my INKcredibly Creative team before the end of July, you will get the cutest Christmas Keepsake project kit (valued at over $50.00), and it will arrive with your first demonstrator order in August.

If you have thought about becoming a Demonstrator, now is a great time to start, for a limited-time you can join with a $119.00 Starter Kit--valued at more than $200.00 and it is full of product favorites, including items from the brand-new Idea Book & Catalog. You can sign up today by simply calling or emailing me.

While I was at convention I picked up some extra goodies, and if you are one of the first 3 to join my team by July 31, you will also get these goodies from me along with your paid registration to Regionals. Please note these extra goodies are being offered by me only and not Stampin' Up!


Sunday, July 24, 2011

new catalogue, new year

I know it's been forever since I posted last, and I feel awful for that. Last year I managed to blog on average every 2nd day, and I figured doing the same this year would be a breeze. Sadly that has not been the case. Ever since my Grams was moved (last October) from a home in the same community as me to a full care home literally across the city it takes me about 5 hours to do what used to take 1 1/2 hrs. Between that, volunteering at school way too often, and coaching soccer, life got crazy. I have not had near enough time to create let alone blog about it, but I sincerely hope that even though things are not slowing down that I can squeak out some me and business time.

I just recently got back from an amazing trip. I went to Stampin' Up!'s yearly convention down in Salt Lake City with an amazing friend and had the best time. I didn't sleep much, but after a week of trying to recover I think I'm as caught up as I can get. That and I now have the flu so I actually have some time to blog.
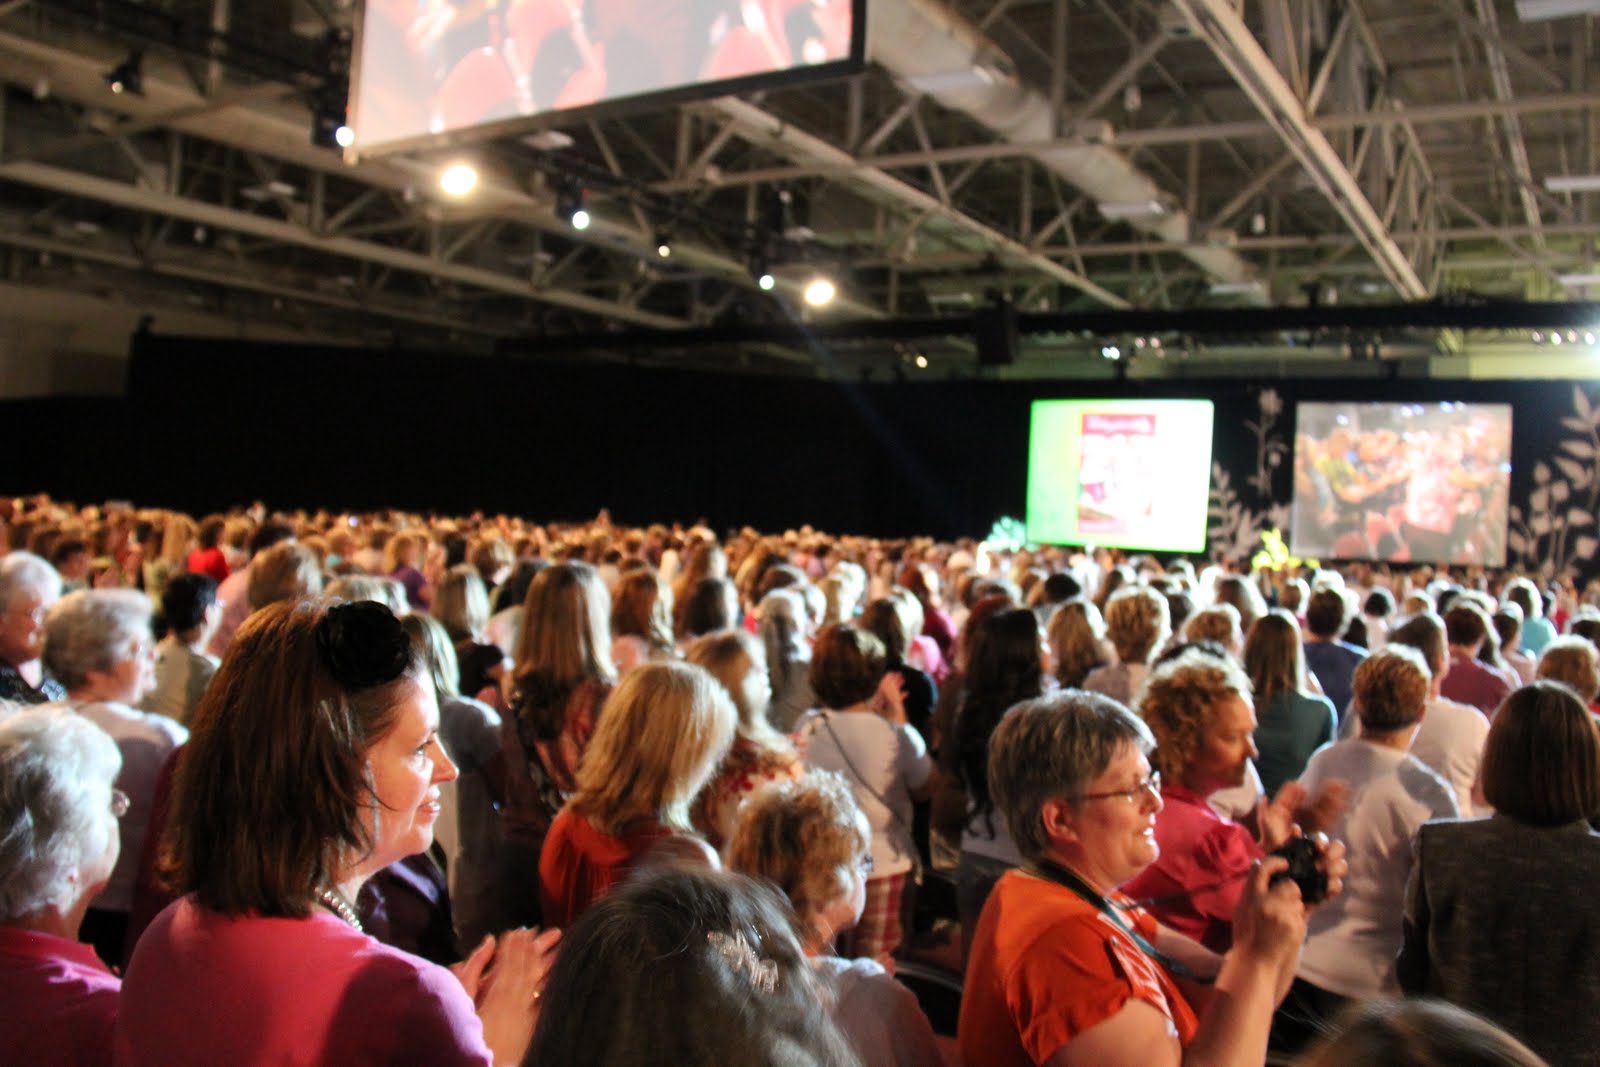
For those of you that don't know about convention it is amazing!! It is 4 days of absolute craziness.

This is about 1/4 of the main stage area.... and about 1/4 of the people. Talk about a fun crowd!

From the time I got there til the time I left I had so much fun. Wed is check in day and after we got our wonderful convention bags we headed to see all the wonderful displays Stampin' Up! does every year. Then we headed to Memento Mall to see how much damage we could do. I have to say I was very good, I didn't spend near as much as I thought I might. I also spent some time that day talking with a few key My Digital Studio people, but sadly I can't tell you about that part. Then it was time for the Kick-Off Party that Stampin' Up! puts on. It was ridiculous!

Thursday was full of classes and general sessions and fun new product announcements and tons of other great things. Awards night was after, and if that doesn't give you a kick in the pants to want to grow your business, nothing will. Then we all went to an amazing after party. Some even stayed til after 2am. Sadly I was back at the hotel by midnight. Tons of demos doing the Electric Slide


Friday we had a Stampin' Up! breakfast at 7am!! Anyone that knows me, knows I'm more likely to still be up than to actually get up that early, so that was hard, but totally worthwhile. Then another full day of classes and more fantastic announcements, followed by an evening class. I didn't get back to out hotel room til after 11 that night!

Saturday was the last day, a couple classes in the am, and then closing session in the pm. I couldn't believe it was over, it seemed like the week flew by, and then I had to say goodbye, not only to the new friends I made, but to my roommate and fantastic friend Lydia. We've been friends for about a decade, but sadly we live on opposite ends of the country now so we hardly get to see each other and it was beyond amazing to get a week away with her. Thankfully my husbands amazing cousin lives not too far away and he came down for a quick visit and I sent a bunch of stuff home with him since I was way over my weight limit, and not everything would fit in the suitcases. This is a shot of all the wonderful stuff we get for going to convention and a bit of the stuff I bought at Memento Mall. Notice the beautiful convention bag? I love it and carry it everywhere now.


I'll be seeing him soon, so I can get the rest of my stuff. I'm really glad I ended up with too much stuff because now we all get to hang out with him for a bit, which makes for an even better end to convention than I thought possible.


This is one of many displays of new and super cute products from Stampin' Up!'s Product Park. They made up displays using all sorts of wonderful products, and this one featuring the product suite domestic goddess almost makes housework look like fun.


I have about 4,500 pictures from a week to sift through, but I promise I will post lots of them. I do have a question for all you. What kinds of pictures would you prefer? Product Park, class displays, main stage presentations, the craziness of it all, or people I met? any or all of the above?

There is so much more to tell, which would take forever. If you want more info and stories I'd be glad to fill you all in, but I also don't want to bore you, so please let me know.


Saturday, June 4, 2011

Here's your last chance....


It's time to say goodbye! Hundreds of products from the 2010-2011 Idea Book & Catalogue and Definitely Decorative brochures are retiring, and now is the time for you to get them before they're gone.


Accessories:
http://204.228.150.61/docs/lastchance/en-CA/Availability_en-CA.pdf

Definitely Decorative:
http://204.228.150.61/docs/lastchance/en-CA/Def_Decorative_CA.pdf

If you want to order any of these contact me right away as many are sure to sell out.


Wednesday, June 1, 2011

Sneak peak.....

So June 1st is a frenzied time with Stampin' Up! The Last Chance list comes out, we demos get a sneak peak at new and amazing products, and so much more happens all on this one day. I figured why not give you all a sneak peak at what I've been working on which has kept me soooooooo busy.

I've been trying desperately to get caught up on my scrapbooking, and I've been working on the Disneyland album. Here are a few LO's so far. They are not done yet, most need journalling at the very least.


I've got a ton more coming, and I promise I'll show you them all, but for now, that's it. I'm off to bed.... I have to get up in just 4 hours.


Saturday, May 14, 2011

Hip-Hippo-Ray!..... I'm only a week behind

Well sort of. I had the best intentions to post some more cards last weekend, but then life got in the way again. I had fun at a national scrapbook day crop, thanks Becky.

This is a card I did way back in December for my niece's birthday. I try to not use pink a whole lot if I can help it, but since she loves pink I decided to go all out! Would you ever have though to use Christmas DSP not only for a birthday card, but for a PINK-licious card? I never would have, but my son picked up a scrap and said it looked perfect and to use it, so I did... it's a scrap of Holly Jolly DSP.


Stamps: Pun Fun
Inks: Old Olive, Melon Mambo, Pretty in Pink
Papers: Watercolor Paper, Very Vanilla, Pretty in Pink, Melon Mambo, Holly Jolly DSP, Cottage Garden DSP (retired)
Misc: Aqua Painter, 3/8" Very Vanilla Taffeta Ribbon, Perfect Polka Dots Embossing Folder, Sponges, Dimensionals

I hope I've inspired you to use some of your supplies or DSP in a way you didn't think of at first.


Friday, May 6, 2011

chugging along

A while ago my son went to a birthday party for one of his best friends, and James loves trains, so I figured it would be a perfect time to play with one of my favorite kid sets, choo choo. I also love using a ton of color on kids cards, so I decided to use as much as I could.


Stamps: Choo Choo, Teeny Tiny Wishes, Right On Track Wheel
Inks: Real Red, Pumpkin Pie, Daffodil Delight, Old Olive, Pacific Point, Perfect Plum, Basic Black
Papers: Tempting Turquoise, Daffodil Delight, Old Olive, Real Red, Various DSP
Misc: Word Window Punch, Modern Label Punch, Wheel Guide, 1/2" Circle Punch


Sunday, May 1, 2011

No cards.....

I've been way to busy this week to do any cards or scrapbooking. I was working on a farewell cake for my in-laws. They are leaving right away to go on a mission to South Africa, so I made them a farewell cake. I turned this:

into this:


I should have some more cards and projects for you soon, and if you live in the Calgary area and want or need a cake for any occasion send me an email, I'd love to make you a cake.